This article was written on Pragma Engine version 0.0.94.
Creating Custom Content for Instanced Items #
A new Player Data service has been released that is more up to date and supported with this current release of Pragma Engine. We recommend you check it out by viewing the Player Data Overview page.
In the Instanced Items series, we’re going to demonstrate how to create Gear: a custom, unique instanced item type that players can equip in-game and upgrade with elemental, stackable runestones. In order to accomplish this task, we’re going to learn how to create custom content with protocol buffers (protobufs), define three instanced items in a JSON item catalog using our protos-defined custom content template, and implement a custom Kotlin plugin to build and upgrade gear-type items.
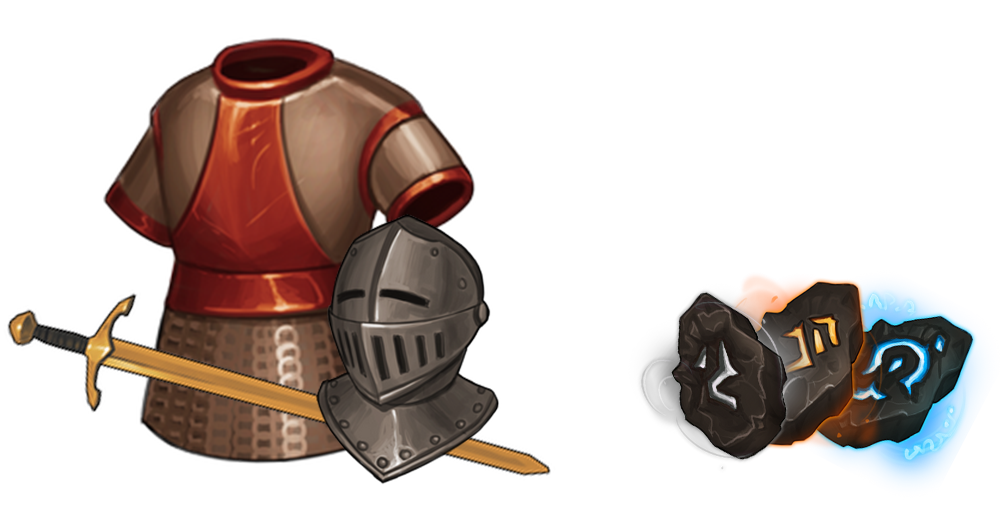
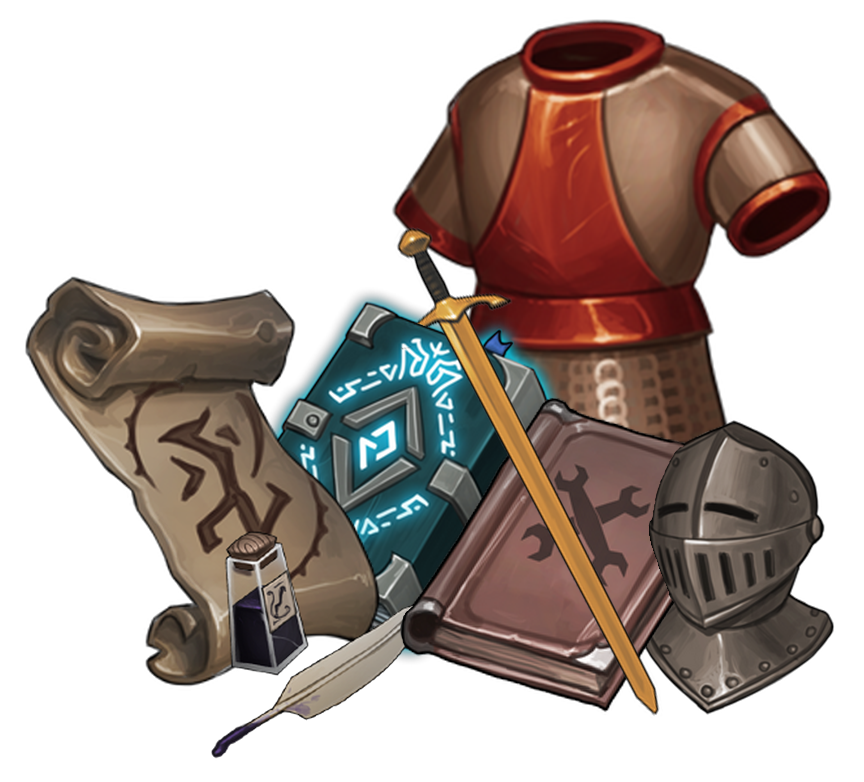
Gear type items on the left, and on the right are the socketable runestones used for upgrading gear.
If you haven’t already, check out our previous Stackable Items series for an introduction to Pragma Engine’s inventory system.
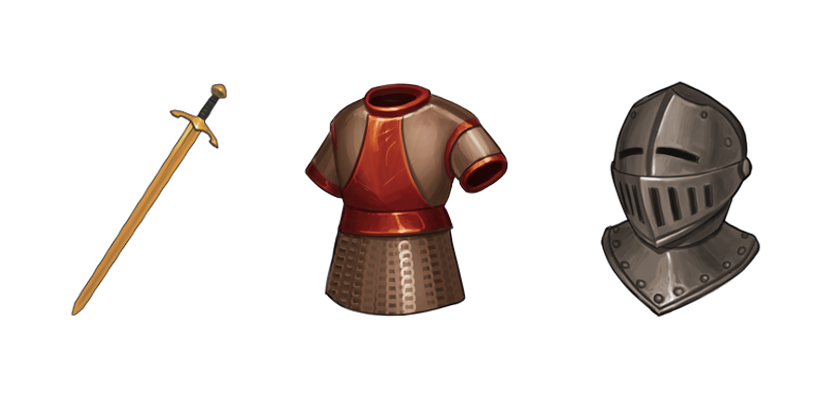
For the first tutorial in this series, we’ll go over how to define the Gear instanced item type in protobufs, the item catalog containing gear-type items–a Copper Sword, Bronze Breastplate, and Iron Helmet–, and explain how these systems intertwine along the way.
Understanding Instanced Items #
Instanced items are a key pillar of content management within Pragma Engine. Purely customizable by the developer, instanced items are made from strongly typed data in protobuf files and custom plugins. Every built instanced item is unique and no two items are alike–even if those two items share the same item tag or type.
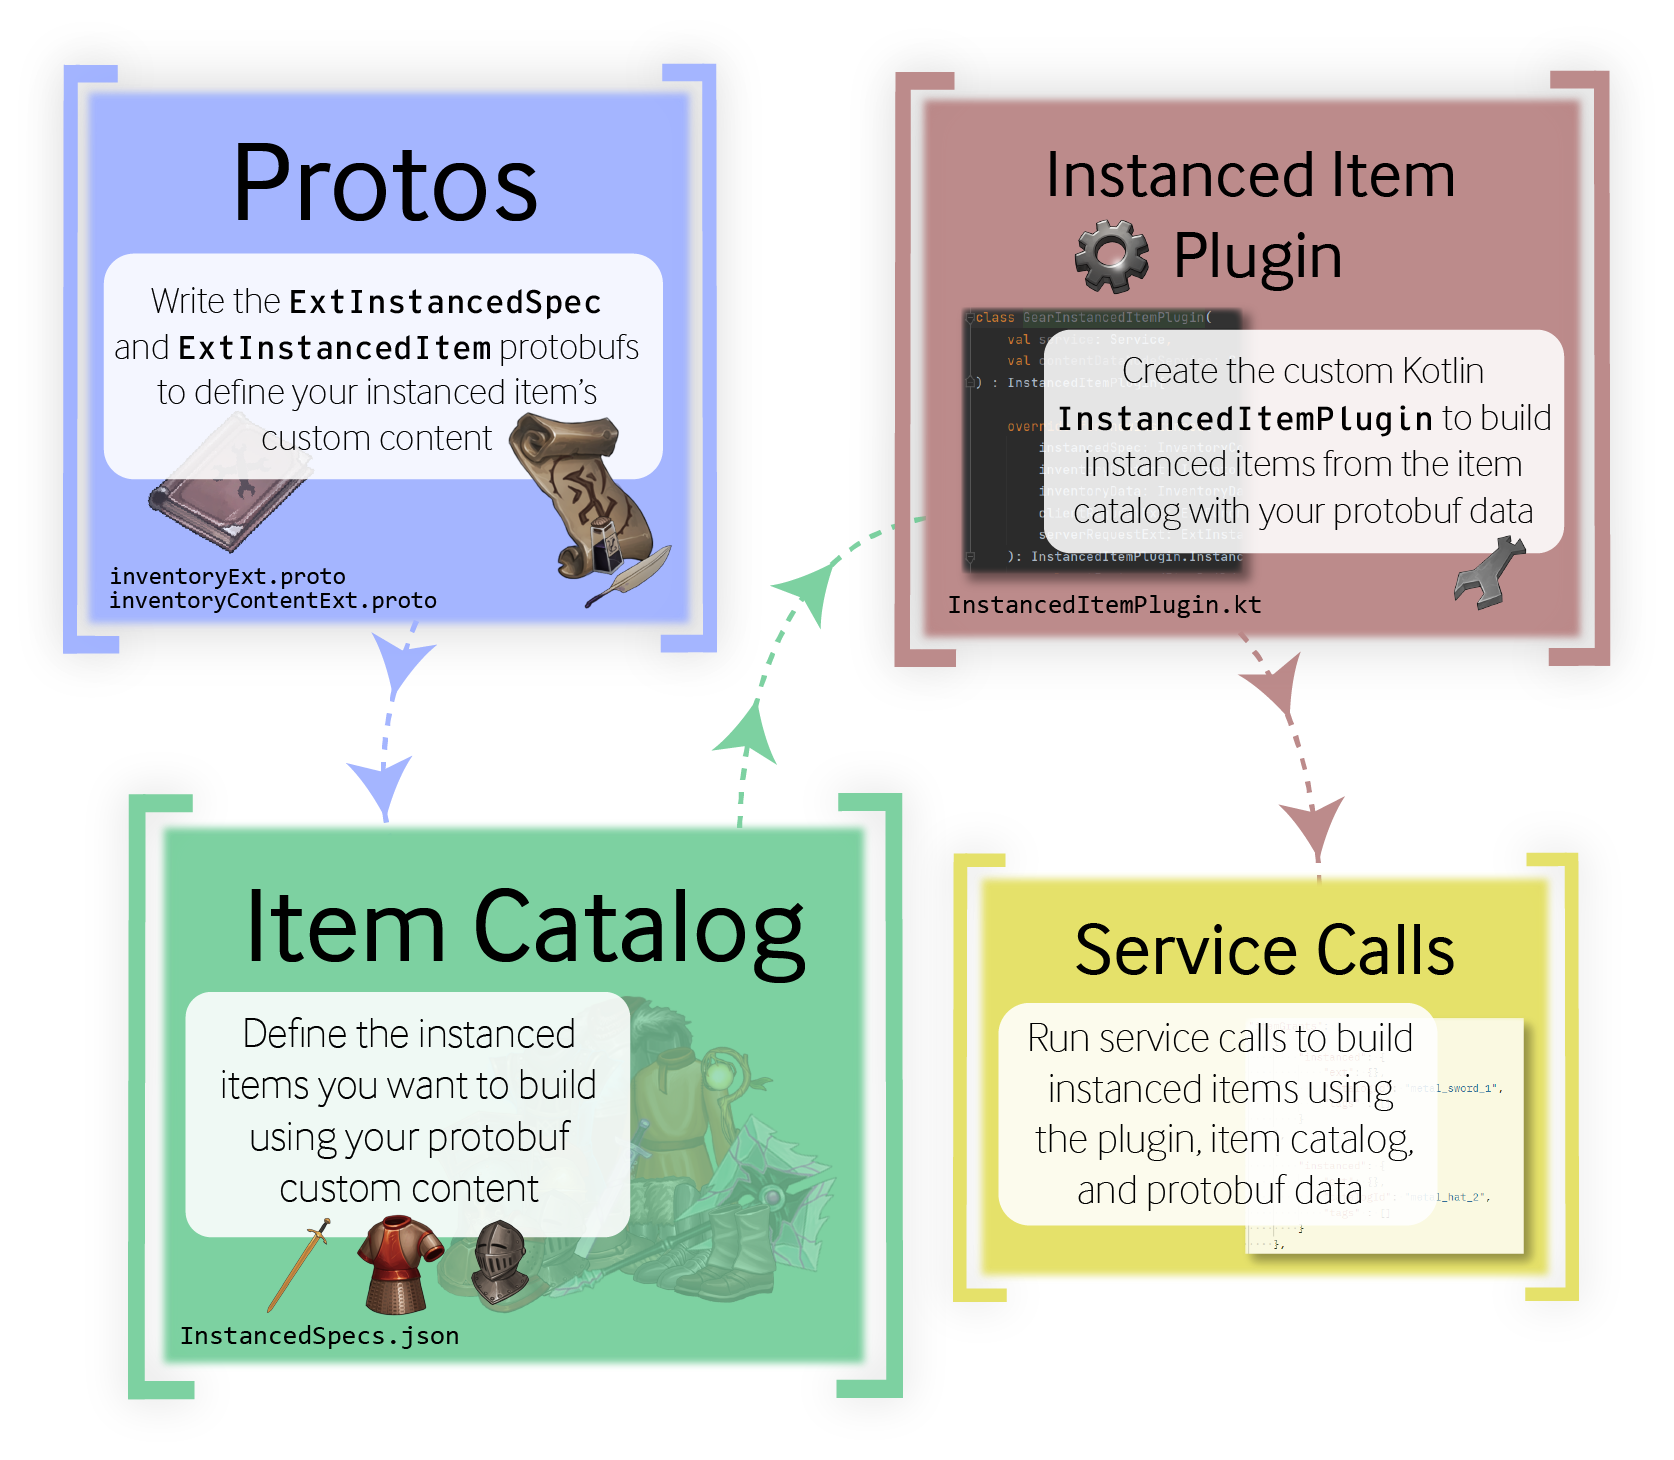
To make instanced items, we’ll need to:
Define the item’s custom extension field (
ext) data in two separate protobufs: the item template type (ExtInstancedSpec) for containingextspecifications for items in the instanced item catalog, and the item mold (ExtInstancedItem), which a custom Kotlin plugin uses to build and contain each item’s uniqueextdata.Write the instanced item catalog–in a JSON file–to define the instanced items that use the
ExtInstancedSpectemplate.Customize the
InstancedItemPluginto use the item catalog data andExtInstancedSpecprotobuf template to build entirely new and unique instanced items ontoExtInstancedItemmolds.
Running a service call to grant or purchase an item will then run the entire InstancedItemPlugin building scenario with an ext output full of unique, custom content.
Unlike stackable items, which can be stacked on top of each other and are wholly identical, instanced items are inherently unique, customizable, and personalized. Instanced items are also used for items that need to be updated and changed continuously, whereas stackables always remain static. To name a few, instanced items in-game could be weapons, pieces of armor, quest items, books, and many other objects. Outside of a game, instanced items could also be a player’s MMR ranking, quests and missions, or even a battlepass.
Before we commence the proto and item building… #
First you’ll want to get your engine built and your 5-ext directory created. 5-ext is where you can define custom content.
Build the engine by running the following command in the terminal from the platform directory:
make skip-tests protos engine
Now run the next command to create a 5-ext folder (if you don’t have one already):
make ext
Building Protos for Instanced Items #
Pragma Engine uses protobuf files as our interface definition language (IDL) for serializing strongly typed custom data. Protobufs are written in a binary format, making them extremely compact, transferable, and capable of navigating various different coding languages. This creates an extremely efficient workflow within Pragma Engine’s structure, with easily accessible custom content capable of working in many different programming workflows. In Pragma Engine, proto files are used in Kotlin, and your SDK’s programming language.
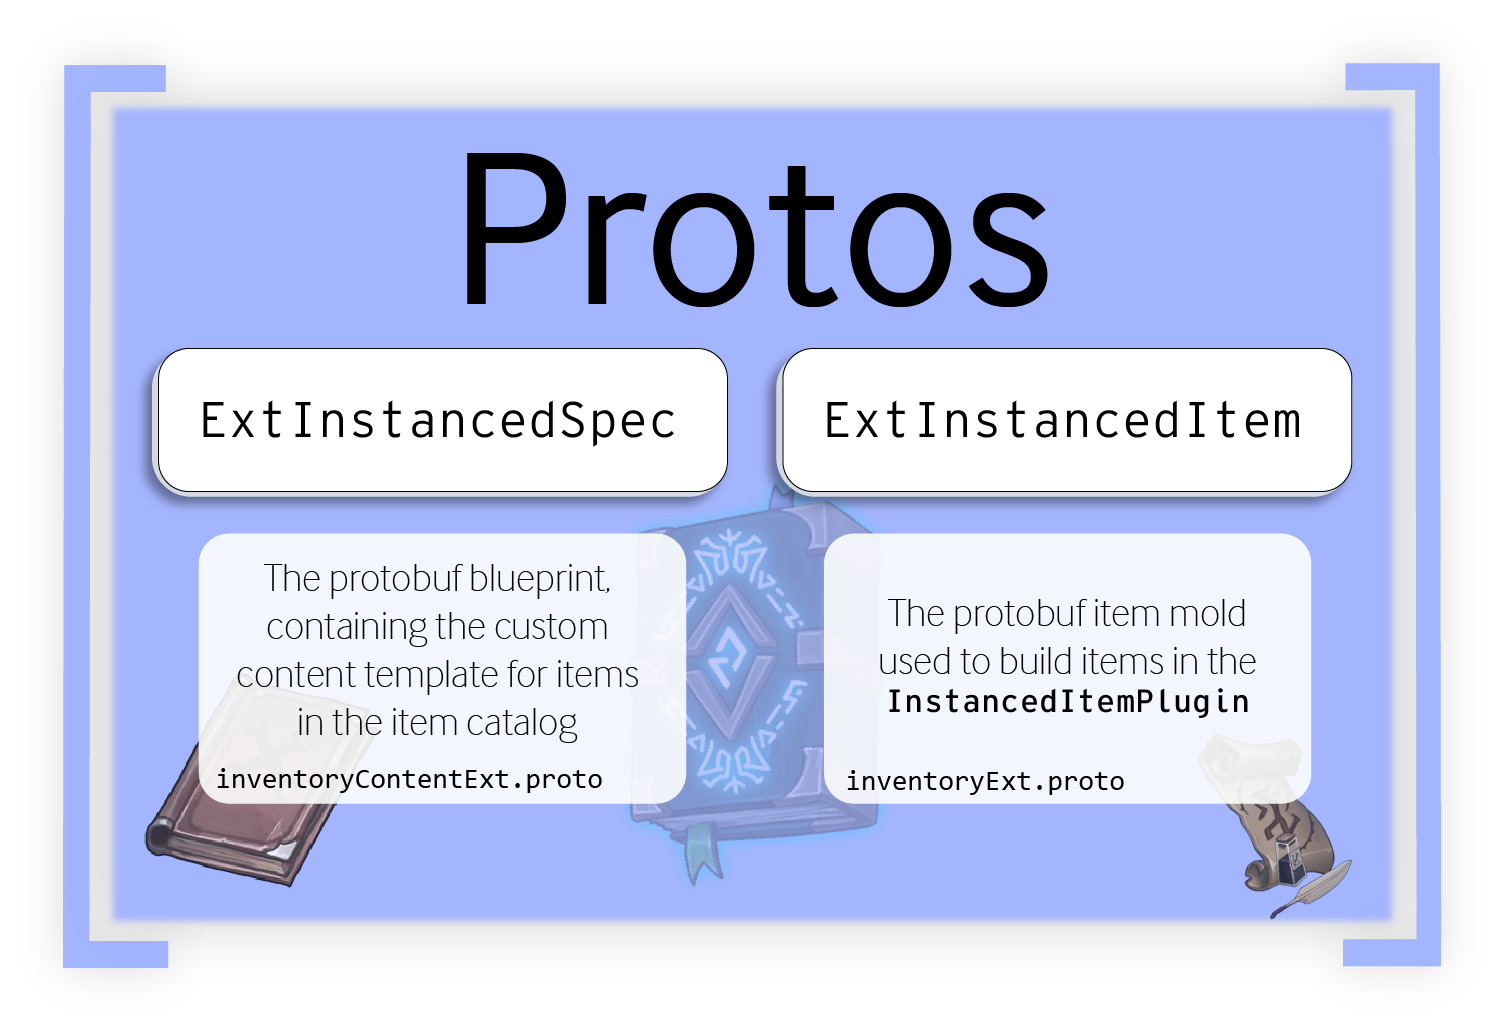
There are two different protobuf definitions that an instanced item needs: the ExtInstancedSpec template, which contains the custom content template for items in the instanced item catalog, and the ExtInstancedItem mold, which the custom InstancedItemPlugin uses as a container to build each individual item’s custom content. It’s important to note that we’re not actually making the item with protobufs; we’re making the user-defined data for each item, which will be represented in ext fields. Defining the items themselves comes in a later step–in the item catalog.
The instanced items we want to build–Copper Swords, Bronze Breastplates, and Iron Helmets–are all going to be considered gear-type items. To define these items, we’re going to write ExtInstancedSpec and ExtInstancedItem data to encompass all types of gear-types: GearSpec for the ExtInstancedSpec, and Gear for the ExtInstancedItem.
GearSpec and Gear will be all-purpose protobufs for many different types of gear-related instanced items. Instead of writing new ExtInstancedSpecs and ExtInstancedItem protobufs every time we update the instanced item catalog with new items, we’ll design the most versatile ExtInstancedSpec (GearSpec) and ExtInstancedItem (Gear) to accommodate all gear-related items.
Creating the proto template #
To create the GearSpec, go to 5-ext/ext-protos/src/main/proto/shared/inventoryContentExt.proto. You’ll see 5 different message objects in this proto file, but you’ll only need to edit the ExtInstancedSpec object.
In ExtInstancedSpec, add the following code to define the GearSpec.
message ExtInstancedSpec {
  oneof data {
    GearSpec gear_spec = 1;
  }
}
The ExtInstancedSpec object is where we nest and define specifications for any instanced item template we want to make. Usually, you want to use a oneof field when making these ExtInstancedSpecs. Notice how the ExtInstancedSpec object has Ext in the name, hinting that the content we’re making solely resides in ext fields.
We also need to give GearSpec the custom components required to make the type of instanced items we want–the three different types of equippable player gear.
Add the following message directly below the ExtInstancedSpec object to define our GearSpec’s components.
message GearSpec {
  int32 level_to_equip = 1;
  string primary_attribute_spec_id = 2;
  int32 primary_attribute_value_min = 3;
  int32 primary_attribute_value_max = 4;
}
Now, let’s break down how we’ve organized the GearSpec template:
| Field | Description |
|---|---|
level_to_equip | An int32 type for our item’s required level to equip value |
primary_attribute_spec_id | A string type for the id of the item’s primary attribute.With GearSpec, this string will indicate the type of attribute for each specific gear item–damage for a sword and armor resistance for armor. |
primary_attribute_value_min | An int32 type that will contain the minimum value of the item’s primary attribute |
primary_attribute_value_max | An int32 type that will contain the maximum value of the item’s primary attribute |
Most Spec objects look something like the code block above. Each of these properties will be given readable values later on in the instanced item catalog for each gear-related item (the Copper Sword, Bronze Breastplate, and Iron Helmet).
It’s important to note that we’ve defined an int32 type for a minimum and maximum attribute value. When writing a custom InstancedItemPlugin for building gear, we’ll implement a feature that rolls a value between an item’s min and max attribute values to construct unique, randomized attribute stats for each item.
Now that we have the GearSpec all set to go, let’s define the protobuf for the Gear mold, which the InstancedItemPlugin will use to build ext data for gear-related items.
Creating the mold #
Navigate to 5-ext\ext-protos\src\main\proto\shared\inventoryExt.proto. In the message for the ExtInstancedItem object, add the following oneof field to create the Gear mold.
message ExtInstancedItem {
  oneof data {
    Gear gear = 1;
  }
}
The ExtInstancedItem object is where you’ll define any type of item mold the InstancedItemPlugin will use to build items of that type.
Next, make a new message below the ExtInstancedItem object to define the fields for all built Gear items.
message Gear {
  int32 attribute_value = 1;
  repeated string socketed_runestones = 2;
}
Similar to GearSpec, the Gear object has an int32 field for the attribute’s stat value. We have also added a new repeated string field for our socketed_runestones. This field is going to be used for upgrading already built Gear items with runestones–a type of stackable item. An item’s runestones will be displayed in the socketed_runestone field, and we’ll make these stackable runestone items in a later article.
While GearSpec is used to template custom item content in the instanced item catalog, Gear is used to build the actual item content in the InstancedItemPlugin. The plugin, which contains functions for handling item catalog and item spec data, will apply its final results for a gear based item to our Gear molds–building each and every item’s ext data uniquely and individually.
The Gear proto might seem a lot smaller compared to GearSpec; we always want ExtInstancedItems to only contain as little Pragma Engine data as possible. You can customize this data further via your SDK, but in case you need to make data migrations or vast content changes with Pragma Engine or your game, having ExtInstancedItems contain very little data makes any redesigns to your content systems easier.
Making our proto definitions in 5-ext #
With Gear and GearSpec defined in protos, do the following make command using platform as the working directory.
make ext-protos
By running the make command above, our protos are built into 5-ext so we can define our instanced items in the instanced item catalog and the InstancedItemPlugin.
Now our protobufs are done for gear-related instanced items! The next thing we need to do is define our instanced item catalog in JSON for gear-related items, which will be Copper Swords, Bronze Breastplates, and Iron Helmets.
Gearing Up to Create Instanced Items #
Initialize the 5-ext content directory by running the following make command in the platform directory.
make init-inventory-content
To create our instanced item catalog, go to 5-ext/content/src/InstancedSpecs.json and add the following code to create three new instanced items: metal_sword_1 (Copper Sword), metal_chest_2 (Bronze Breastplate), metal_hat_3 (Iron Helmet). The catalogId of each item has a number corresponding to the material type of the item (1 for copper, 2 for bronze, and 3 for iron).
[
  {
    "catalogId": "metal_sword_1",
    "name": "Copper Sword",
    "tags": [
      "weapon",
      "1h"
    ],
    "ext": {
      "gearSpec": {
        "levelToEquip": 1,
        "primaryAttributeSpecId": "damage_physical",
        "primaryAttributeValueMin": 5,
        "primaryAttributeValueMax": 10
      }
    }
  },
  {
    "catalogId": "metal_chest_2",
    "name": "Bronze Breastplate",
    "tags": [
      "armor",
      "chest",
      "heavy-armor"
    ],
    "ext": {
      "gearSpec": {
        "levelToEquip": 2,
        "primaryAttributeSpecId": "resistance_physical",
        "primaryAttributeValueMin": 35,
        "primaryAttributeValueMax": 40
      }
    }
  },
  {
    "catalogId": "metal_hat_3",
    "name": "Iron Helmet",
    "tags": [
      "armor",
      "head",
      "heavy-armor"
    ],
    "ext": {
      "gearSpec": {
        "levelToEquip": 3,
        "primaryAttributeSpecId": "resistance_physical",
        "primaryAttributeValueMin": 20,
        "primaryAttributeValueMax": 25
      }
    }
  }
]
| Field | Description |
|---|---|
ext | The extension field for an instanced item. This is where instanced items grab custom content from any Ext related proto object in the inventory system. Instanced and stackable items are capable of having ext fields. |
gearSpec | The gearSpec we defined in protos. Instanced or stackable item’s custom content is defined using their particular item spec type.In this case, any gear related item (like swords, breastplates, and helmets) will use the gearSpec template to define its custom content. |
levelToEquip | The player’s required level to equip the item. Our three items’ levelToEquip values also correspond to the material numbers in each item’s catalogId. |
primaryAttributeSpecId | The Id value of the item’s attribute. For weapons like swords, we’ll use damage_physical, and for armor we’ll use resistance_physical. |
primaryAttributeValueMin | The minimum value of the item’s randomized attribute stat |
primaryAttributeValueMax | The maximum value of the item’s randomized attribute stat |
Defining the instanced item catalog is very similar to defining the stackable items catalog; instanced items contain a catalogId, a name, and the appropriate tags that categorize items based on purpose and function. However, with our instanced items, we’re using our proto-defined specification template to insert additional content via the ext parameter. For our items, this content is written using gearSpec.
Make sure that you write in lower camel case for the gearSpec’s fields, even though we wrote them differently in protos. The values written in an item’s extension fields must match up to the protobuf custom content, so when in doubt, double check with your protobufs to make sure all custom content lines up.
Now that our three instanced items are made in JSON files with proto definitions, we need to apply our content data changes before making our own custom InstancedItemPlugin that builds gear-related items.
Register content changes #
To register the instanced items we just made, run Pragma Engine with a fresh build and apply our content data changes. To do so, run the following line of code in a terminal using platform as the working directory:
make ext-contentdata-apply
And that’s a third of the battle finished and complete! The next articles will walk you through how to make a custom InstancedItemPlugin that uses our Gear and GearSpecs in protos, and the instanced item content written in JSON.
For more information, check out the rest of the articles in this series:
Part I: Creating Custom Content for Instanced Items (this article)
Part II: Building Unique Instanced Items with Plugins
Part III: Upgrading Instanced Items

