Unreal: Matchmaking #
This tutorial uses Unreal Engine 5.3 with Pragma Engine 0.1.0 to demonstrate integrating Pragma Engine party functionality with a third-party game engine. This guide assumes you are proficient with Unreal Editor.
We’ve previously built the party flow up until the point players enter matchmaking: players can create a new party, join a party with an invite code, and select their game mode and characters. In this tutorial, we’ll expand the MyPlayerController.h header file and MyPlayerController.cpp source file to implement matchmaking functionality.
Get started #
To get started, re-run the update scrips command:
update-pragma-sdk.sh
Ensure you have a locally running Pragma Engine to test examples as you build each function.
How to use this tutorial #
The code presented in this tutorial is simplified to give you an introduction to the game flow. An actual game would have a more sophisticated design, and the player experience may differ significantly.
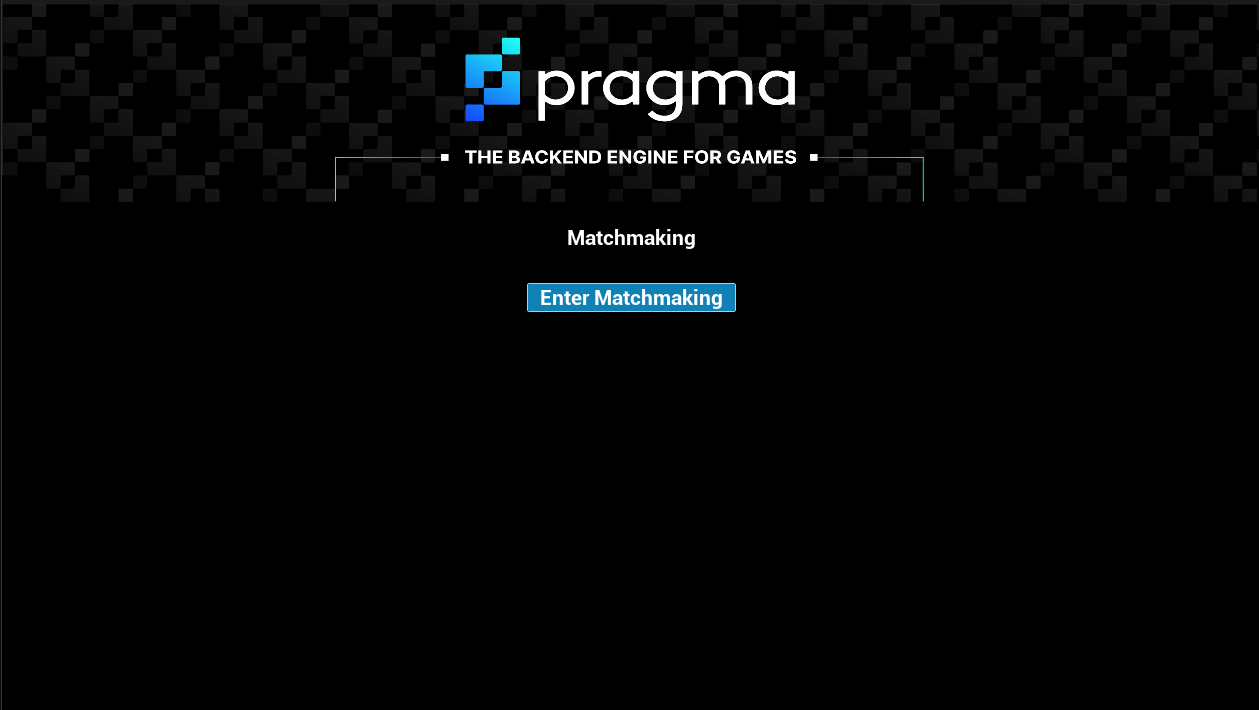
We’ve built this barebones matchmaking screen to help you visualize the functionality presented in this tutorial:
The functions in this tutorial are built as UFunctions with the Exec and BlueprintCallable specifiers, meaning they can be executed by the in-game console and in a Blueprint or Level Blueprint graph. The Exec specifier is useful for quickly testing your functions.
The example tests in each section are meant to ensure your C++ code is working properly and are unlikely to represent a completed game design. Adapt the organization and naming to suit your project’s needs.
For convenience, we’ve included sample C++ files that contain all the code from this tutorial, as well as the login/logout functionality and the party functionality.
Note that you may need to update your #include statements as you progress through the tutorial.
Implement the Initialize Game Instance function #
Goal #
While the GameInstanceApi is not required to enter matchmaking, it is required for game instance creation. In this tutorial, we will test our matchmaking plugin by having the matchmaking service create a game instance after successfully matching two parties.
Implement a InitializeGameInstance() function that initializes the GameInstanceApi. You can also choose to implement the following functionality into a general Initialize() function that also initializes the Party, Game Instance, Friend, and Presence services (see the relevant tutorials for examples).
Steps #
Declare the
InitializeGameInstance()function in thepublicsection of yourMyPlayerController.hfile:UFUNCTION(Exec, BlueprintCallable, meta=(Category="Pragma")) void InitializeGameInstance();Define
InitializeGameInstance()in yourMyPlayerController.cppfile:void AMyPlayerController::InitializeGameInstance() { UPragmaGameLoopApi::FOnCompleteDelegate GameInstanceInitializeDelegate; GameInstanceInitializeDelegate.BindWeakLambda(this, [this](const TPragmaResult<>& Result) { if (Result.IsSuccessful()) { UE_LOG(LogTemp, Display, TEXT("Game Instance service initialized.")); } else { UE_LOG(LogTemp, Warning, TEXT("Game Instance service failed to initialize: %s"), *Result.Error().ToString()); } }); Player->GameInstanceApi().Initialize(GameInstanceInitializeDelegate); }
Enter matchmaking #
Goal #
Implement a EnterMatchmaking function that allows players in a party to enter matchmaking.
Steps #
Declare the
EnterMatchmaking()function in thepublicsection of yourMyPlayerController.hfile:UFUNCTION(Exec, BlueprintCallable, meta=(Category="Pragma")) void EnterMatchmaking();Define
EnterMatchmaking()in yourMyPlayerController.cppfile to enter the party into a matchmaking queue:void AMyPlayerController::EnterMatchmaking() { UPragmaGameLoopApi::FOnCompleteDelegate OnEnterMatchmakingDelegate; OnEnterMatchmakingDelegate.BindWeakLambda(this, [this](TPragmaResult<> Result) { if (Result.IsSuccessful()) { UE_LOG(LogTemp, Display, TEXT("Enter matchmaking success.")); } else { UE_LOG(LogTemp, Warning, TEXT("Pragma unable to enter matchmaking: %s"), *Result.Error().ToString()); } }); Player->GameLoopApi().EnterMatchmaking(OnEnterMatchmakingDelegate); }
As long as the two players are in different parties and both parties are set to the same game mode, the WarmbodyMatchmakingPlugin will match the two parties, create a game instance, and send the two parties to the game instance.
Players cannot enter matchmaking without being in the “ready” state. For our tutorial, a player’sisReadyvalue is automatically set totruewhen they make a character selection. See Make character selections.
Display game instance information #
Goal #
Create an Unreal function that logs to the console whenever a player has been added to a game instance. This will verify the matchmaking process has successfully created a game instance.
The Pragma SDK provides an OnAddedToGame event that fires when a party is added to a game instance. We can use these events in Unreal to trigger handler functions for matchmaking and game instance updates. For now, our HandleOnAddedToGameInstance() function simply print an Unreal log entry.
Steps #
Declare the
HandleOnAddedToGameInstance()function in yourMyPlayerController.hfile underprivate:void HandleOnAddedToGameInstance(const FPragmaGameInstance& MyGameInstance);Define
HandleOnAddedToGameInstance()in yourMyPlayerController.cppfile:void AMyPlayerController::HandleOnAddedToGameInstance(const FPragmaGameInstance& MyGameInstance) { UE_LOG(LogTemp, Display, TEXT("Game instance ID: %s"), *MyGameInstance.GetId() ); }Register our
HandleOnAddedToGameInstance()function with the appropriate event handler in theMyPlayerController.cppfile in theBeginPlay()function:Player->GameInstanceApi().OnAddedToGameInstance.AddUObject( this, &AMyPlayerController::HandleOnAddedToGameInstance);
Test matchmaking functionality #
To test this functionality using the Unreal in-game console:
Open two clients and log in as
test01andtest02.As
test01, create a party and set the game mode toCasual. Set a character.As
test02, create a party and set the game mode toCasual. Set a character.As
test01, callEnterMatchmaking()As
test02, callEnterMatchmaking()
To apply this functionality using Unreal Blueprints, create an “Enter matchmaking” button that calls the EnterMatchmaking function and populated a text box with the resulting game instance ID.
Upon successfully entering matchmaking, the Unreal output log should display a “Enter matchmaking success.” message for each player, as well as identical game instance IDs for each player.
Sample header and source files #
The following sample files combine the code blocks from this tutorial, along with the functions from the Handle Login and Logout tutorial and Unreal: Parties tutorial.
Next steps #
At this point, players can enter matchmaking and enter game instances with appropriate matches. Continue to the Social tutorial to learn how to implement sample friend and presence functionality.
